Marketing & PR
Video Blogging for Your Private Practice
Maybe you haven’t created your own video blog yet, but I bet you’ve already watched some! A video blog is just a short (three to five minute) educational video.
We’re going to talk about how to create video blogs for your private practice. When you do a good job of choosing the right topic and creating the video, it can interest new families in using your services and make your current patients’ families more loyal.
Why video blogs? Video content is hotter than ever! A recent survey of marketing agencies found that seventy-four percent were getting more leads from video content than static words-and-pictures content. And more than eighty percent of consumers say they’ve been convinced to buy a product or service by watching a brand’s video.
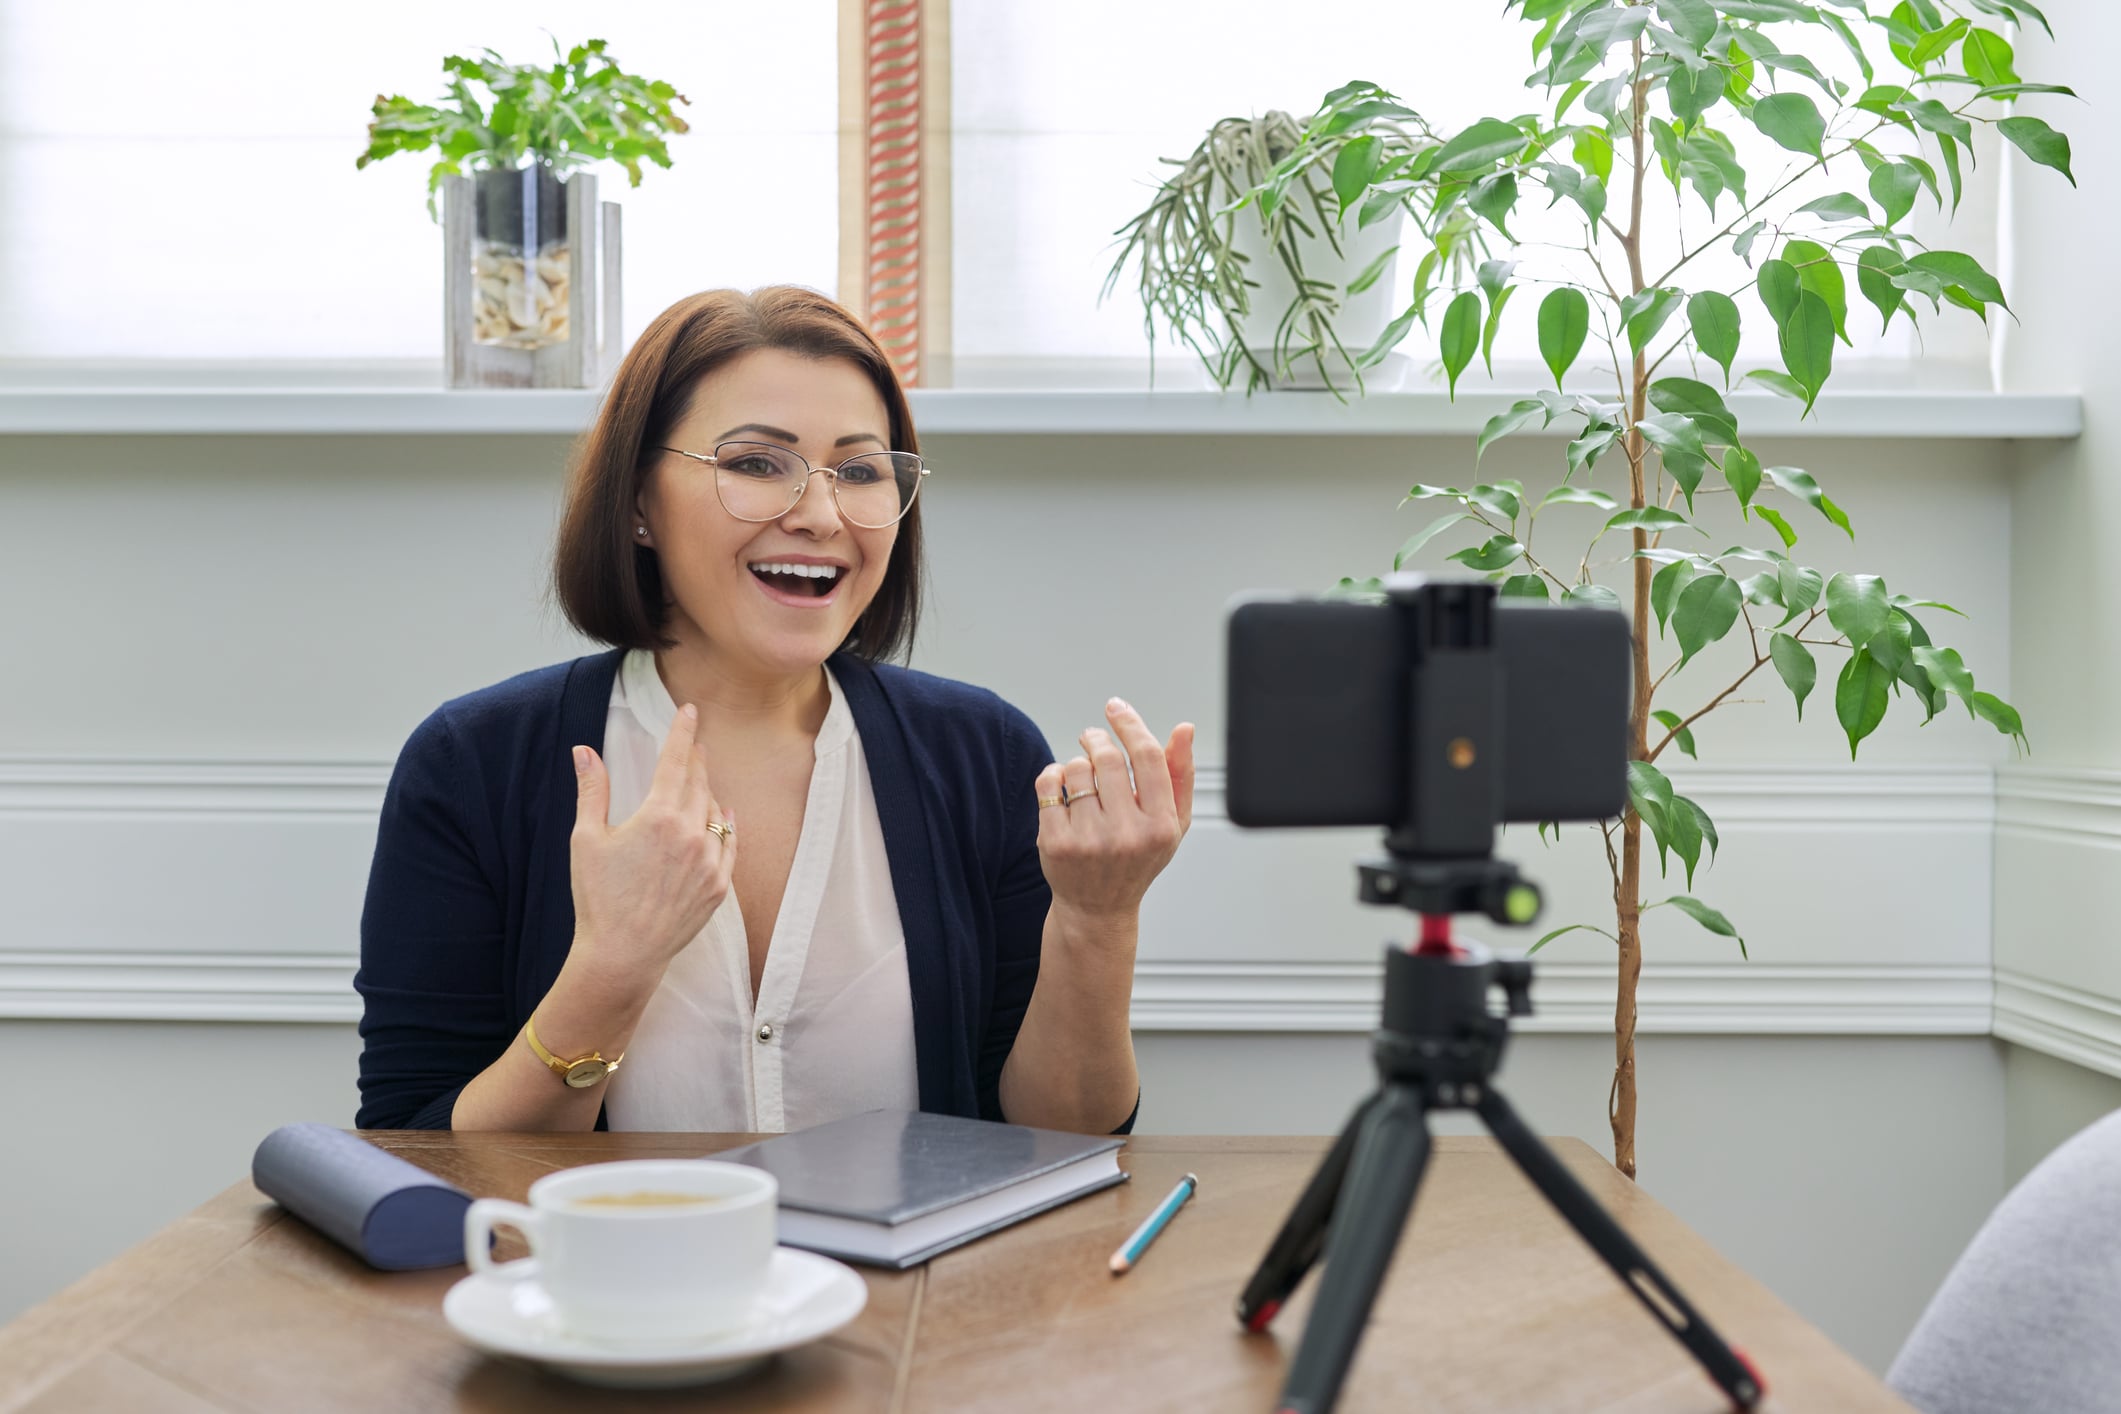
Your videos can be shot very simply in-house with an iPhone. We’ll walk you through the steps of creating your own video blogs.
Preparing for Production
This is going to be a simple production, definitely, but some preparation will make the whole process smoother and easier.
1. Choosing the right topics:
Pick a topic you know will interest patients and caregivers likely to need your services. Topics like “How to Improve Your Child’s Language Skills,” “How to Calm Your Child Naturally,” or “Achieving Calmer Family Dinners.”
You can choose these topics by thinking about the advice your parents most frequently or urgently ask you for. A short video on that topic is likely to get a lot of attention.
2. Outline it:
You don’t want to write out the whole script because that will make your video blog feel canned. Just make an outline of the key points you want to cover. It might help you to write these points in big letters on some poster board and suspend the board behind the camera. That way, you can remind yourself of the next point to be made while not taking your eye off the camera. With this system, your conversation stays more fresh and natural.
3. Props:
Props can be very helpful in illustrating your points. You could incorporate feeding spoons, bowls or cups; books or posters you use with your children; balls, or whatever helps you relay your message. Just try to keep things simple so your video isn’t cluttered.
4. Practice your presentation:
Practice your presentation with the camera right in front of you (but not filming). Do this a few times as you smooth out what you want to say and any transitions within your presentation. It might help to have someone observing so they can observe something you might not notice, like nervous movements of your fingers.
Shooting the Video
When you’ve got your message outlined, props ready, and you’ve practiced; it’s time to shoot it. Here’s some suggestions to give your video the best impact:
- Whether you’re female or male, make sure your hair is trimmed and neat. Dress appropriately with clothing that is not too busy or distracting. Choose simple colors, the more neutral the better. If you’re female, apply your makeup carefully, neither too heavy nor too light. Aim for a professional appearance. Here too, stick to neutral tones.
- Scrutinize the background you’re going to use and eliminate any distracting elements. You’re going to want the attention on you, not on piles of paper in the background.
- Make sure your lighting is sufficient to eliminate any shadows from your face and neck without being harsh.
- Mount your iPhone to a tripod made specifically for this purpose. This will eliminate a shaky camera.
- Shoot your video in a horizontal (landscape) format.
Post-Production and Utilization
This is the part where you’re going to have to find a professional video person, but it’s worth it. Most towns have video production businesses that will take your video and polish it up for you. They will do their best to edit out any flubs, awkward pauses or fillers like “um” and “uh.” They can also add a title at the front and a website address and phone number at the end, if you want.
Post the video to your website with a short description of its content to intrigue potential viewers. Make it plain what parents, other family or caregivers can benefit by watching your video.
Definitely post the video to all the social media sites you utilize with a little intriguing introduction.
Send an email to your patient base and any potential patients you have email addresses for. Include a link to the video blog and introduce it with a message about the benefit of watching this video.
Now that you’ve done all that, do it again in a month! Aim for one video blog produced each month or more if you can!
Interested in more tips for marketing and managing your private practice? Visit our free Lemonade webinar library for pediatric private practice owners.